NEWS
2023 / 04 / 19
PISTON RING INSTALLATION
Rings installed in the wrong grooves or the wrong side up can lead to excessive oil consumption and blow-by and possible scuffing of the cylinders.
These problems can cause engine failure.
Please follow below steps:

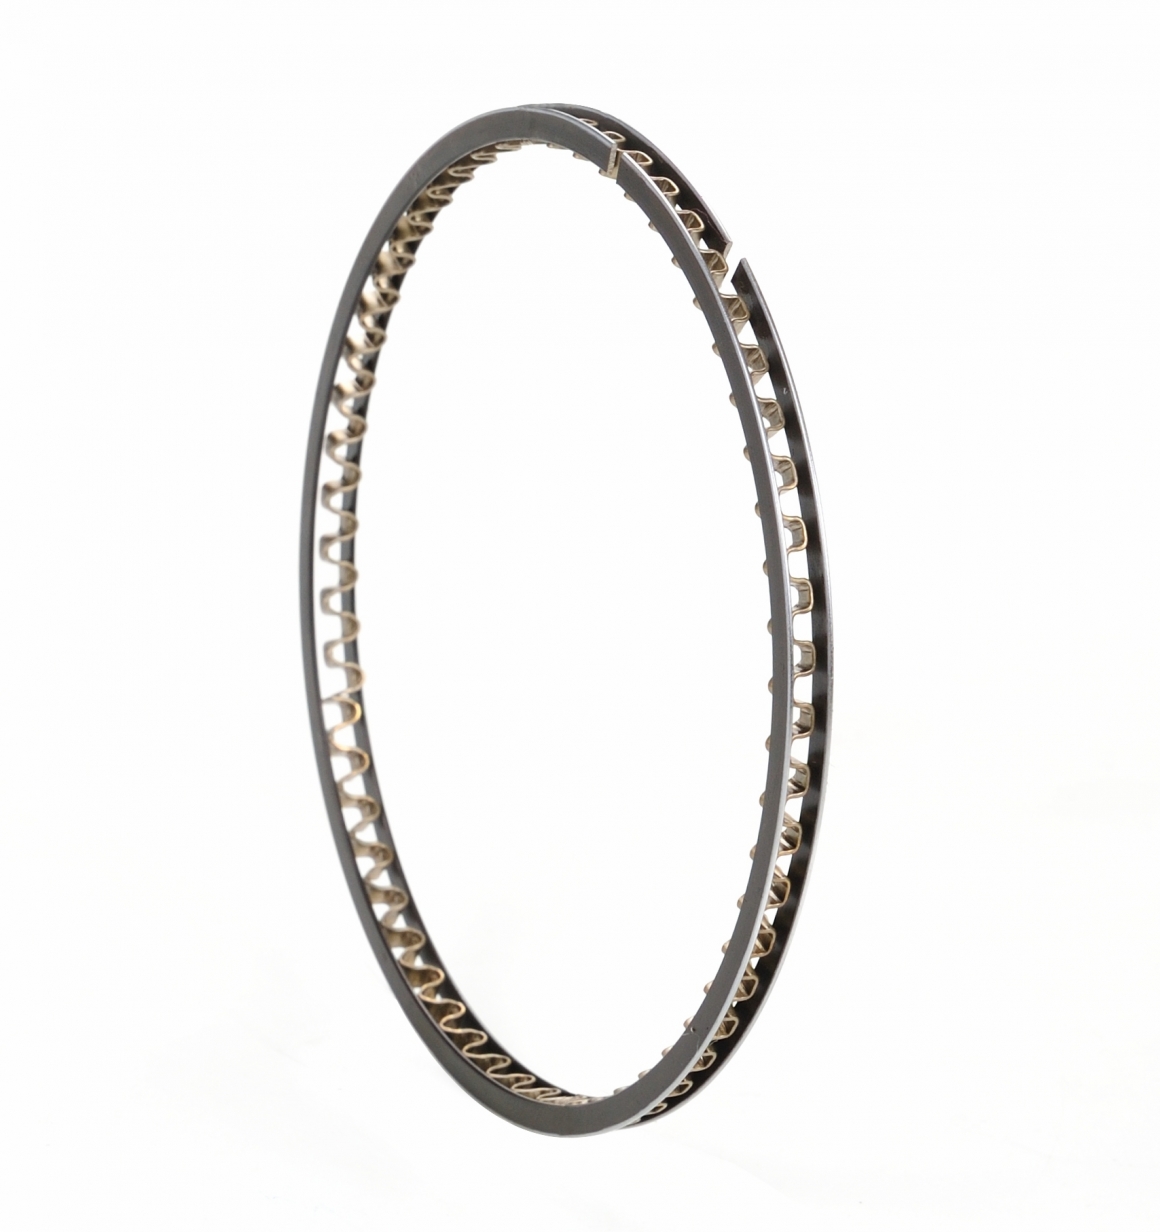
When using a two piece oil, install the Coil spring in the groove then follow the above instructions.

Rings installed in the wrong groove or wrong side up can lead to excessive oil pumping, excessive blow-by, and in some cases completely dry up the bore, causing ring and cylinder scuffing as well as accelerated wear. Any of these problems, of course, constitute a failure as far as an engine overhaul or rebuild is concerned.
Lay the rings out in groups of tops ring and 2nd rings on the bench. Check for TOP marks (DOT or lasor marks).
With the oil control rings loaded on the piston, using a proper ring installation tool, open the second rings with the top mark up, just enough to allow the ring to go over the top diameter of the piston. Work the opened ring down from the top of the piston to the second groove, place the ring squarely into the piston groove taking care to keep it flat, release the tension of the ring installer tool.
Repeat this same process with the Top rings.

For more production information, please click the video link: https://www.youtube.com/watch?v=tTONc9CAW1A
These problems can cause engine failure.
Please follow below steps:
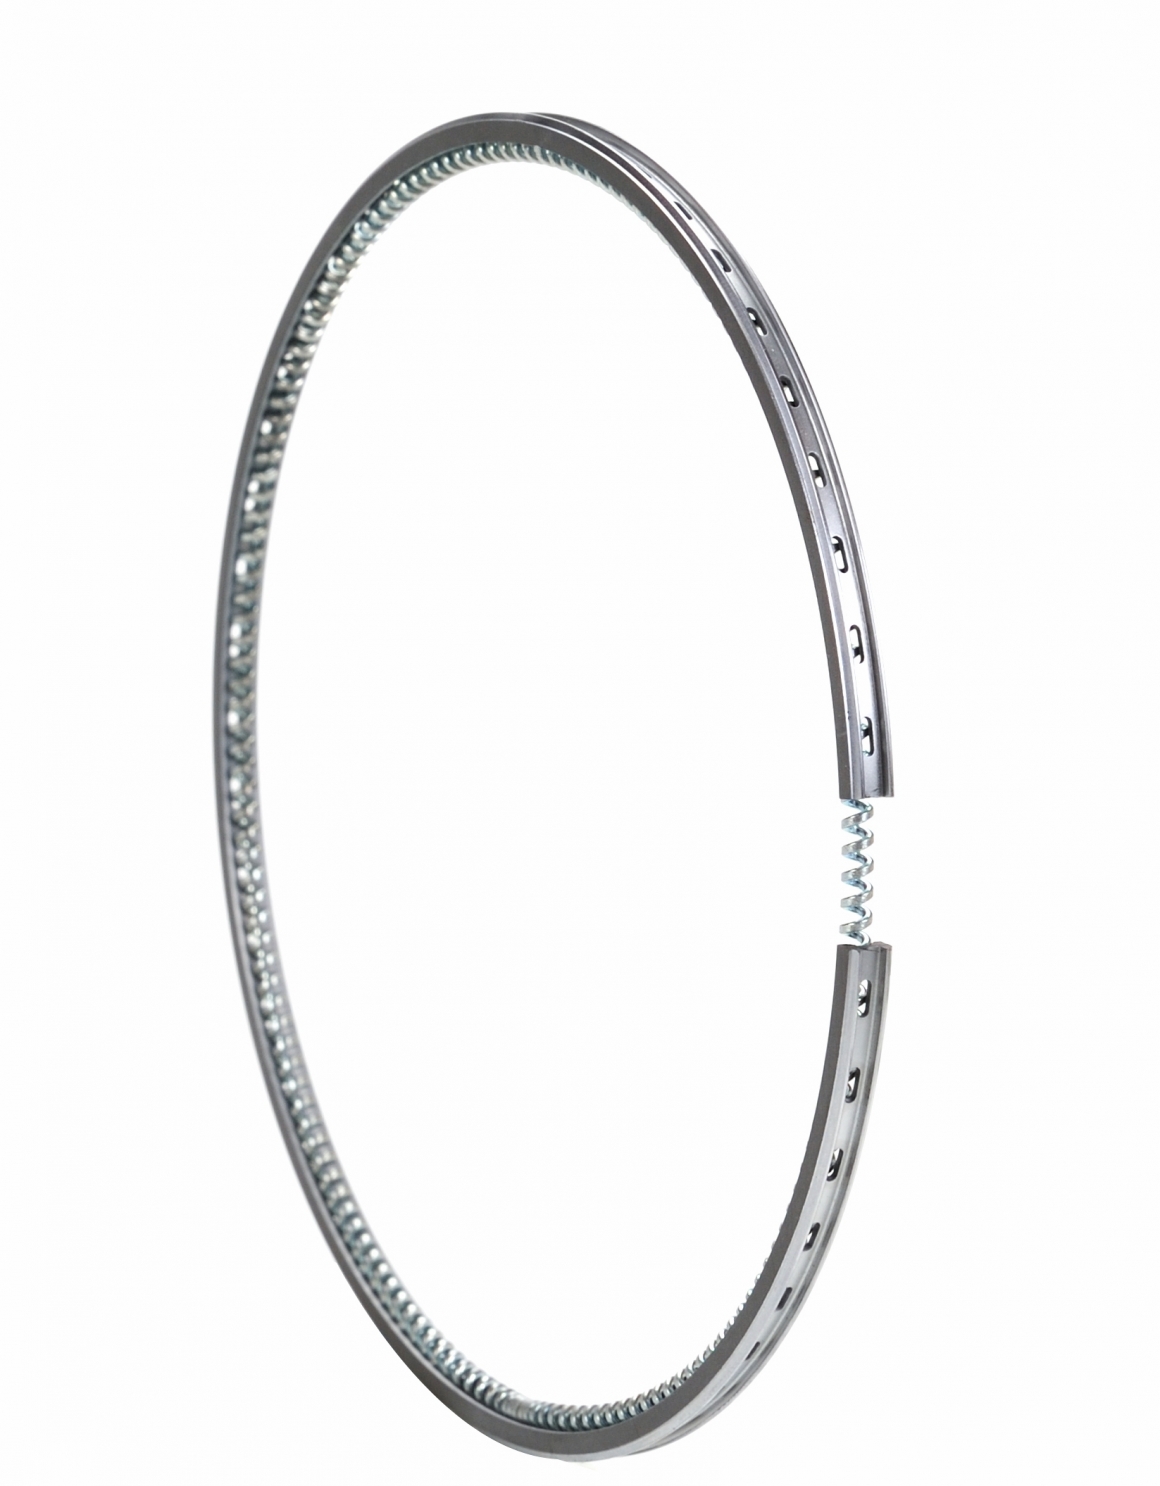
- Three Piece Oil Ring

- One and Two Piece Oil Rings
When using a two piece oil, install the Coil spring in the groove then follow the above instructions.

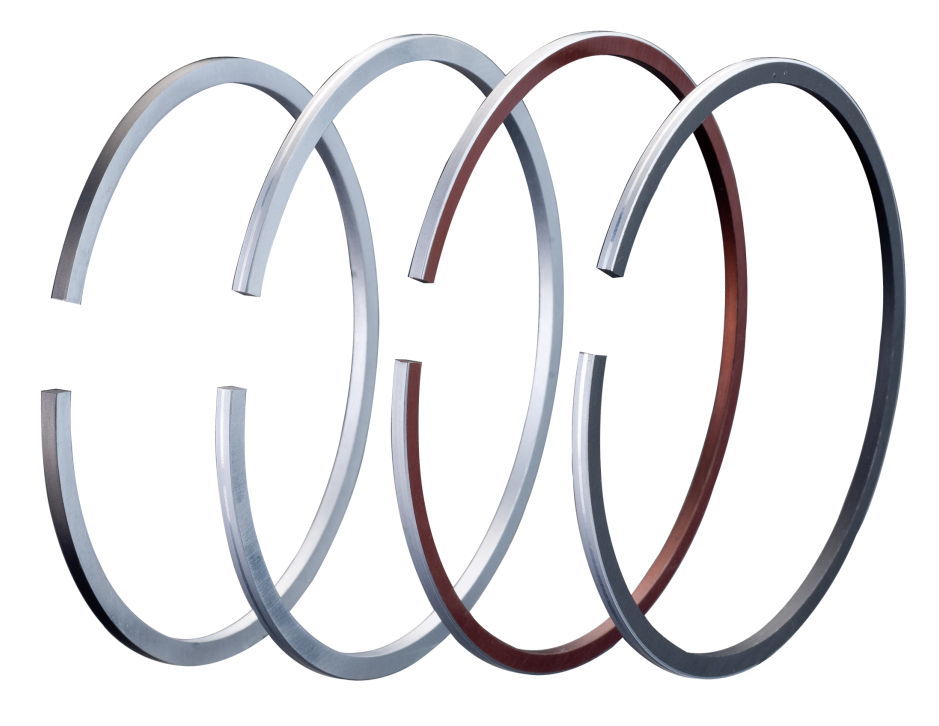
- Compression Rings
Rings installed in the wrong groove or wrong side up can lead to excessive oil pumping, excessive blow-by, and in some cases completely dry up the bore, causing ring and cylinder scuffing as well as accelerated wear. Any of these problems, of course, constitute a failure as far as an engine overhaul or rebuild is concerned.
Lay the rings out in groups of tops ring and 2nd rings on the bench. Check for TOP marks (DOT or lasor marks).
With the oil control rings loaded on the piston, using a proper ring installation tool, open the second rings with the top mark up, just enough to allow the ring to go over the top diameter of the piston. Work the opened ring down from the top of the piston to the second groove, place the ring squarely into the piston groove taking care to keep it flat, release the tension of the ring installer tool.
Repeat this same process with the Top rings.

- Final Steps
For more production information, please click the video link: https://www.youtube.com/watch?v=tTONc9CAW1A
